Thursday, October 7, 2010

"I AM" journal prompt


This is an art journal page I did for a prompt with Milliande.ning.com called "I Am".
Basically I have been doing a lot of thinking lately about who I really am, and not necessarily about what other people think of me, so I thought this would be a good thing to art journal about.
If you would like to play along, you can, here is a link to the page: "I Am" art journal prompt

Friday, September 17, 2010

The Master's Touch


These are some Round Robin journal pages that I did for my sisters book which is entitled Hands.
I chose to do a bit of a spiritual type page, so have included the images of the hands from the painting Creation. I printed them and then cut them out and adhered them on top of my own background.
I call this background the "Stucko" technique, because it always looks like there is a layer of mortar on top of rocks. It is a fairly easy technique, which yields some amazing results.
First is a layer of old book pages, and then on top of that, torn pieces of decorative paper. In this example, the paper looked like old wood slats, but the tone was good, so it worked.
Once the decorative paper is adhered, (I used gel medium to attach it) then with an old plastic gift card, I scraped gesso over the entire surface, and then continued to scrape it till the paper started to show through again. You have to work fast, so the gesso doesn't dry on you, but if you do one side at a time it works pretty well.
Once you are happy with the amount of gesso, you just set it aside til it is good and dry, and then I took a distress ink pad, and smeared it across the whole surface, and then with a paper towel, I rubbed the ink around, and also it rubs some of the ink off. It makes for a lovely subtle aged color and pattern. Just perfect for this page.
Then I adhered the cutouts to the backgrounds, and then with my brown watercolor crayon, I outlined the cutouts, to help seat them into the page, and give it all a cohesive look. I also ran the crayon around the outside of the pages to give them an aged and vintage look. Then wet them with a small paintbrush. I added the lettering with some tiny alphabet stamps and a brown StazOn pad, and voila!

Wednesday, September 15, 2010

Mini angel canvas


This is just a little painting I did... I was feeling a little sentimental, and thought that a pretty little angel would be fun to paint.
It is done on a 6x6 inch canvas. The background is watercolor crayons, and gesso mixed. The wings are gesso then a light coloring accent with a pale blue watercolor crayon. The crown is metallic acrylic paints. The base coat of her face is acrylic paint, and then several layers and colors of watercolor crayon for accents and depth.
Everything else is done in acrylic paints. She was a ton of fun to paint, I may even do another one like her at a later date.

Tuesday, September 14, 2010

Memorial Day weekend

A few glimpses through our journey to Yellowstone.
It was a lovely day filled with great memories.
Awesome beasts!

YES! That is most definitely a grizzly bear!
Yellowstone lake (from the south side)

Lily pads~ taken at the Continental Divide

Old Faithful just starting to erupt.

Old Faithful in all her glory.

Old Faithful Geyser (that's a lot of boiling hot water)

The party's almost over :(

Our little dip in the surf of Yellowstone Lake- north side near Fishing Bridge
(it was extremely windy)

Abby getting her feet wet.

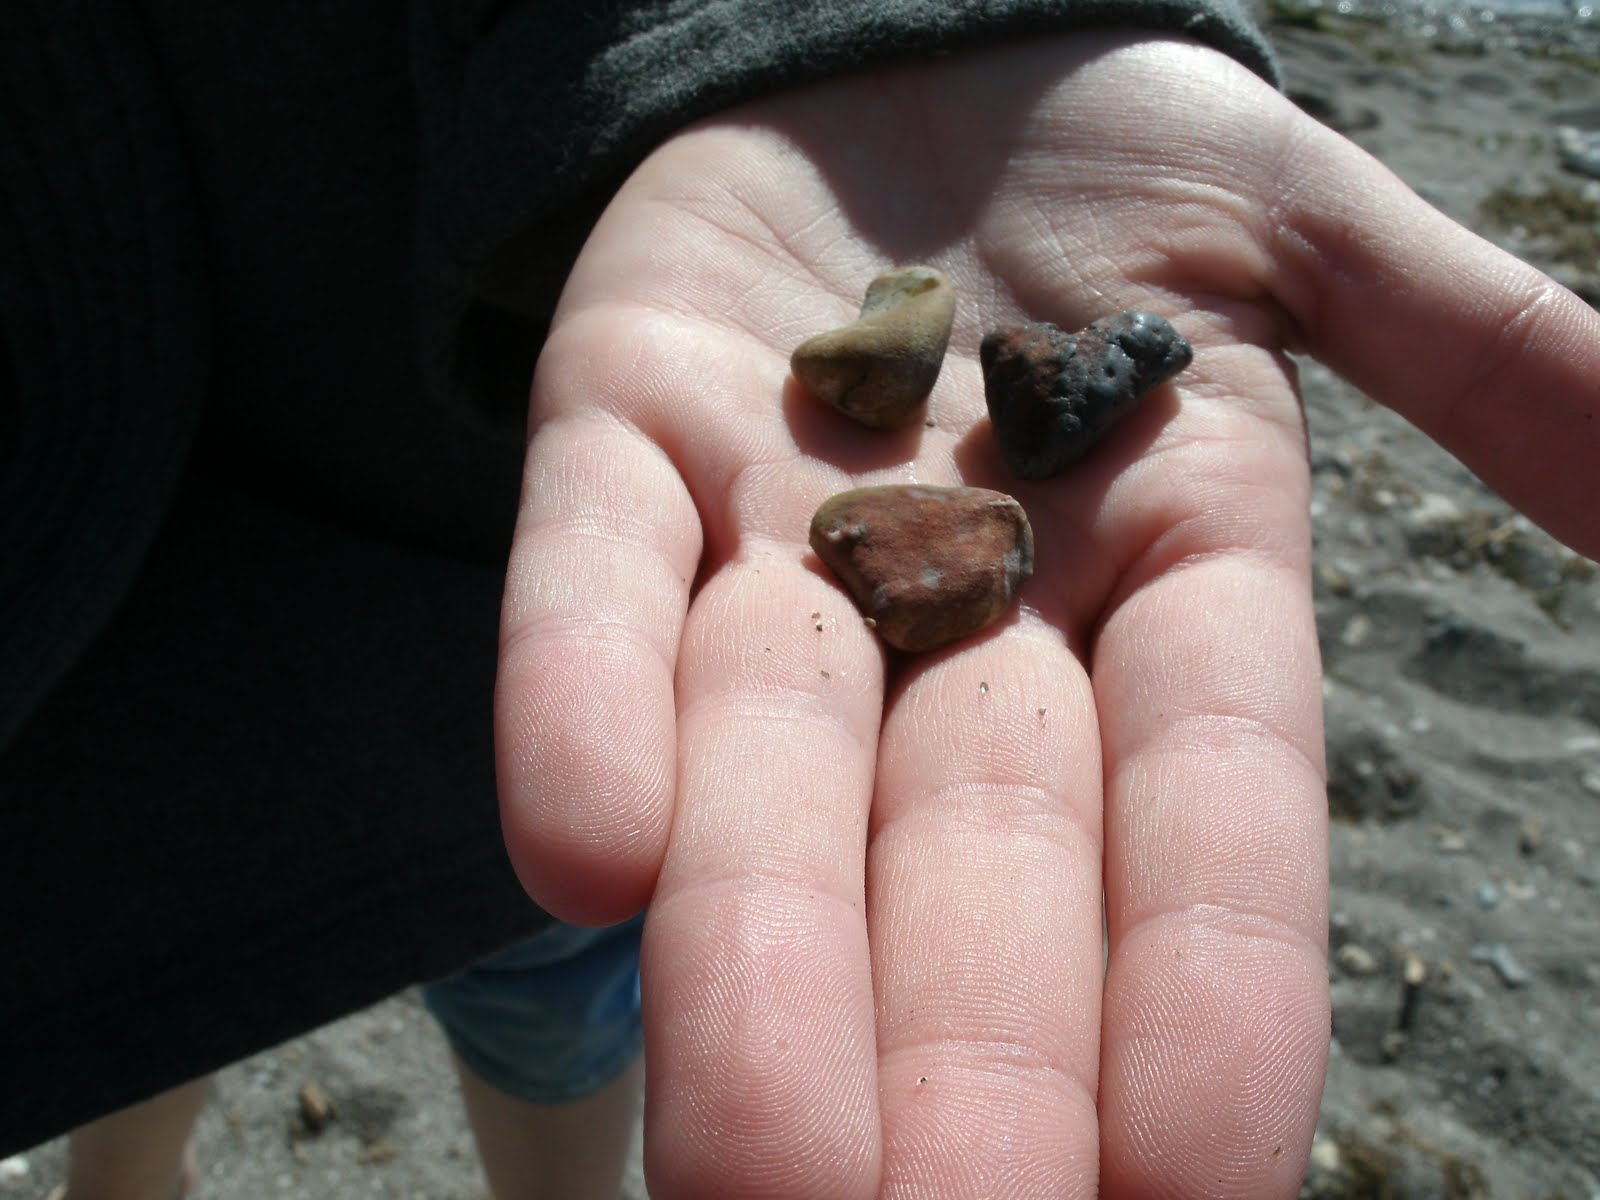
Quincy's little treasures

Lots of little houses

I am participating in a couple of swaps with the Paper Traders yahoo group, and both were making little row houses.
First was Keron's swap, and the theme was to make tiny little chipboard decorated houses.
Here is what I came up with.


Second was Connie's swap which is Creepy Cottages- we were to make the same little chipboard decorated houses, but this time a spooky feel or Halloween theme.
Here are my houses:


Both swaps were a lot of fun, and I can't wait to see what everyone else created.

Thursday, July 22, 2010

Pretty Little face Bobbins


It feels good to be creating a bit again. I am not sure why, but the summer seems to have me busier than I had hoped, and I haven't carved much creative time in.
I made these for a swap in Paper Traders. They are painted on cardboard embroidery floss bobbins, which are just over an inch wide. It was fun to get my paints out and create little pretty faces. It should be a fun swap- can't wait to see what everyone else comes up with. :)

Wednesday, July 7, 2010

Look at what the cat dragged in!

Now that I have your attention, LOL, I will have to explain. I was just settling in for bed around 10PM, and from the open window came the cat bolting in, with something in her mouth. She was moving so quickly, that I could only imagine it was a mouse, since it was squealing wildly. As I chased after her, she was bound and determined to elude me, but I found her downstairs in the basement in Quincy's room, she had let the creature free, and was just about to pounce on it again, when Abby flipped the light on and startled her. Crouched in the corner was a tiny baby rabbit.
We knew we had bunnies in the backyard under the shed, but we didn't know we had babies! It was so cute, and scared to death.
I scooped it up and put it in a cardboard box, til I could get dressed and let it outside back with it's family. Good thing that cat is stupid, and doesn't know how to hunt. I checked it over best I could, and the only thing I found was a bit of slobber on it's back from the trip in the house in the cat's mouth. Here are pictures of the cute little thing.

Wednesday, April 7, 2010

A couple of Art Journal pages

I spent today cleaning off my art table, and it looked so nice that I just had to break out my art journal and do some pages. I had actually started on this first page awhile back, and just didn't know how to finish it, so I added the paper flowers, and the lace below the photo. I may still do more with it at a later date, but for now this is how it will stay. (the photo is of mine and my husbands hands atop my bouquet at our wedding, nearly sixteen years ago.

This page was for a prompt I am doing for our Ning site~ Milliande.ning.com
The prompt is to choose a word you don't know the definition of, and find the definition and do an art journal page about it.
I found a photo of this peacock, and decided it would be a perfect image for what I was going to journal about.
I have been watching some youtube videos from fridayeudaemonism, and was very curious of her title, so I searched for the definition, and what I found was that Eudaemonia or Eudaimonia means Happiness.
It was a perfect word for my art journal page.
I started with several colors of blue & green paints, dripped all over the pages. I closed the book and squished the paint between the pages. Then I opened the pages and dried the paint with a heat tool. Next I added some white paint and smeared it all around with a wet wipe, and then added the image of the peacock.
I added the word Eudaimonia in jet black StazOn with a shadow in violet, then added the word happiness in several colors of blue and green. I added some large eyelets and a gem eyelet in blue and greens. Lastly I outlined the words in black sharpie.

Thursday, March 11, 2010

Rest well- dear friend

Rest well- dear friend, we will miss you dearly. May the heavens welcome you humbly home. You have always been special to us, and we will never forget you.

Pandamoniums Princess Aja Pe' Pe'
11/27/2002 ~ 3/11/2010


Quincy with her special girl Aja- a few last hugs.

Monday, February 22, 2010

Gothic Arches Renaissance Women


I made these arches for a swap in the Paper Traders Yahoo Group. The topic was Renaissance Women, and we were to use the Gothic Arch template provided. I made a set of these a few years back, so these will go nicely with the others I have.
The photos are not very good, but that is what I have. It makes them look a little crooked, but they are tall and narrow (7 1/2"h x 3 1/2"w)
I sure had fun making them, and may find time to add more to my book.

The end of Art Journal January

Well, here I am getting ready to post something all together different, and realized I never posted the last two pages of my Art Journal January. So I am taking a quick minute to post them. Day 30 and 31. The first of which is a fairly simple page, mostly done with a mixed up background of paint, gesso, and more paint, splatter paints, color mists and a little squishing it around with my fingers. Then I added some simple drawn images from a magazine, and colored them with markers, to make a simple but unique look.

Second is the last page in my journal, which is a fold out page, depicting gel medium transfer images of faces and eyes. I chose to take the opportunity to reflect on my month of journaling with this last page. I entitled it True Vision, with the reminder that I will create from within, with true intent, and with the hopes that I will learn, grow and see what and who I really am through my journaling.
As mentioned above, I started the page with many magazine cutouts of faces and eyes, and did a bunch of gel medium transfers with them, then I cut out a face and eye from a magazine, and adhered it to the top. I stamped the words with alphabet stamps, both on the flap and underneath. Then added my journaling and a bit of gold shimmer powder to the lettering.

I want to thank you all for traveling this journey with me, and hope to do it again next year. :)

Thursday, February 4, 2010

Art Journal January Day 27


Ok, I went back and tried out the eraser art page. It turned out better than I expected it to. I had originally intended to do a face of some kind, but just couldn't wrap my head around it. I couldn't sleep the other day, so I got up and started to journal what was in my head, and this is what came out. It is a set of hands holding the light of the sun.
I used a scribbled background of 2B, 4B and 6B charcoal pencils, and then smoothed it with a smudge stick, then I "drew" with my kneaded eraser until I got the outlines I was looking for.
Lastly I added some light yellow and flesh colored watercolor pencils to give it a little more dimension. I wrote the words with my trusty sharpie marker. :)

Tuesday, February 2, 2010

Art Journal January Day 29

Today's prompt was awesome- I got to get MESSY! I started with a triple layer of acrylic paints, in blue, green and purple.
Then added the swirls with distress crackle paint, then layered on alcohol inks in several colors and colored sharpies in different shades of purple.
Then to top it off, I spritz with three different color mists.
This was absolutely a good time- letting go of lots of the feelings I have been having the last few days, and thinking about how when I was a little girl, I would twirl around in my pretty dresses, til I got dizzy and fell down. I loved to twirl and spin- ah, memories.

Saturday, January 30, 2010

Art Journal January Day 28

Day 28- Funky Footprints
I have to say I think today's prompt was the funnest so far, and with just a few days to go, it may just as well be my favorite.
I love the idea of using your feet to help create art. Just goes to show that when creating art, it is definitely a part of the whole you.

When I got done making the footprints, the first thing I saw in the image was a silly cheeky monkey, so I chose to go with it, and draw the doodles in and make matching monkeys in a heart.
The footprints are done with wildflower colored ink, and then I used colored sharpie markers to accent, and for the tail and ears I used a magenta watercolor pencil, and a water brush.
The toes are the backside of kitties, and a bunch of silly mice.
When I was all finished I added some glitter as accents.

Art Journal January Day 27

Well, this is really not the page for the Day 27 prompt, which is eraser art, but I just couldn't get my head wrapped around the whole reverse part of scribbling and then erasing what I want to show up- it is just so backward for me. Not saying I won't give it a try, but I have to think about it for awhile, before I give it a go.
SO- here is my substitute page, which is just one to "reflect" on.
It carries a lot of reflection both in the imagery, and in the colors. I use several metallic paints, and silver ink to make everything cohesive.

Art Journal January Day 26

Here is my page for Day 26- The prompt was hearts.

It is hard to see, but it is spritzed with pearl ink, so it is shimmery. That is why the picture is at an angle. And the "gold" heart is actually a pretty shade of green, with gold shimmery scroll work. The heart at the bottom of the page, is an origami heart, if you look closely you can see the folded paper makes a four pointed star (around the letter T)

Art Journal January Day 25

Less than a week to go, and I have been at it every day without fail. I am running out of creative things to say, so I will just post the picture, and let you make your own opinions of it. :)

Day 25- prompt: Birdcages

Monday, January 25, 2010

A little message to viewers-

I am having a bit of computer trouble at the moment, so I may not be able to post my pages every day.
I think the thing finally gave out for good. I guess I got my money's worth out of, but I sure don't have the funds to replace it, so I am working on the girls' computers when they aren't at school.
It's a bit of a pain, but I will make do with what I can for now.
Hugs, and I hope you will all stay with me through the rough patch.
:)
Letha

Art Journal January Day 24


Day 24- hand carved stamps
I started with a bunch of stamped images from a stamp I carved, and stamped with different colors of StazOn inks. I then added the magazine clipping, and then I stamped the wings (another hand carved stamp) I used my reverse stamp so the I could have them going different directions. Next i took a piece of punchinella (sequin scrap) and laid it down, and smeared some artist cement through the holes, and then removed the punchinella. It left the nicest little white dots. I took some swabs and dipped then in alcohol inks (stream and wild plum) then smeared them on the artist cement dots. Then I took a charcoal pencil and blended it with a smudge stick, around the girl. I did some distressing around the outside with distress ink. Lastly I stamped the text lines across her front, and did some more journaling about what art journaling means to me.

Art Journal January Day 23


Day 23- one word page
Decorating a page with only one word. Well, I did sneak in a little image of a girl, but I just felt inspired, and I have given myself the freedom to interpret as I wish :) The whole freedom thing- loving it!
Other than the one image, the whole page is done with One Word. WONDER.
I have used a myriad of colored markers. Some of the words are done with watercolor brush pens, and watercolor crayons. Most of them are sharpies, but I also threw a few others in the mix.
The background is done with some stamped masking tape, and then painted it with twinkling H2Os, and some silver ink, to give it shimmer.

Art Journal January Day 22

9 days left, I think I will actually make it. This has been a rewarding experience, and I hope that it will help me to continue with my art journaling, and to take the time when I feel inspired to create. Not worrying if my studio is clean, or my supplies are unpacked. Just create with what you have on hand, and make it from the soul.

Day 22- layered transfers.
Sounds easy enough- HA HA! I think I started over 3 times, and finally decided that whatever came out on the last one, I was going to work with it no matter what.
Something to remember- the dark colors make it impossible to see the fine details of transfers that are on top of them. Keeping it simple this time, I didn't get as many layers as I had planned, but at least I had something to work with.
Definitely a thin coat of gel medium, and a lot of pressure. It is a touchy sort of thing.
After I got the transfers done, I decided to make it messy with some border stamps, bird stamps and a saying.
I muted the border stamps with some gesso, and added some alcohol ink smears for backgrounds, and some watercolor crayons for a little extra color.
Lastly I added some outlines to help the small flower transfers pop.

Saturday, January 23, 2010

Art Journal January Day 21

Day 21 and counting!
Today we were to create a mandala. I chose to stay with my theme, and to write some positive self affirmations to help me to grow, renew and revive.

I started in the center and worked my way out by using several different media. First it was some green and blue water color brush pens, in two different colors of each. Then green and blue water color crayons, again in two different shades of blue and green.
Then blue and green oil pastels. Next I went over everything with blue and green water soluble pencils. Lastly I added some silver ink, and some blue and green twinkling H2Os.
I added some text stamps, and then I wrote my affirmations around from the center words. I added a little charcoal pencil and smudged it for depth. That's it- pretty simple, and it is quite shimmery.

Thursday, January 21, 2010

Art Journal January Day 20


First off, I want to say that this page was a huge disaster, and did not start out very well. I had these great ideas in my head, and not one of them came out on paper correctly. I started with the scraps of paper background, and then a very light coat of gesso. My intention was to use an opaque StazOn to stamp the butterflies, then blend around them with a charcoal pencil but it didn't show up at all. So I then tried colored StazOn, but I did not like the starkness of the brown, so I attempted to paint them with Twinkling H2Os, but that was not very successful, and they looked really weird colored that way, so I decided to cover them with gesso. I was thinking about starting all over, but as I started to coat them with gesso, the butterflies started to soften, and I was beginning to think they weren't so bad after all. So I blotted on the gesso, and then when it was dry, I traced around them with a charcoal pencil and blended with a smudge stick. The gesso ended up covering most of the background paper, but it was ok, since it just softened the colors and prints. I then added the lettering words with a fine line Micron pen, and then added some streaks of silver ink to give it a little pizazz.
I guess it goes to show that even the worst mess of a mistake can be worked into something nice.

Art Journal January Day 19


Day 19- mosaic page.
I started out with a water colored background of mosaic tiles, but to me it looked like a big cozy quilt, so I laid down a coat of gesso over the top of my watercolor. Then I added some stamped images with StazOn and Distress inks. Next I used a fine line Micron pen to doodle and journal, and lastly I added a few highlights, (like the hearts) in colored sharpie markers.
It was a fun page, even though it doesn't look at all like I thought it would when I started.

Tuesday, January 19, 2010

Art Journal January Day 18


I was really excited about today's prompt. I have been thinking a lot about home lately, and this gave me a great outlet to express my feelings about "home"
I am very grateful for the home we live in, and for the love and tenderness of my family.
Supplies:
scrapbooking paper snippits
gel medium
watercolor brush pens- (loving my new toys)
gesso
charcoal pencil
distress ink